
Birthday Banner Guide: 90% On-Time Delivery UK 2026
Ordering a personalised birthday banner for your child’s party should be exciting, but many UK parents face frustrating hurdles. Photo quality errors, confusing ordering steps, and late deliveries can turn a simple task into a stressful ordeal. This comprehensive guide provides a clear, step-by-step approach tailored specifically for UK parents to create professional, impactful banners that arrive on time. Follow these proven methods to transform your celebration with a memorable decoration and lasting keepsake.
Table of Contents
- Prerequisites And Budget Planning
- Step-By-Step Personalisation Process
- Choosing Design Themes And Photos
- Materials And Printing Quality
- Timeline Expectations For Order And Delivery
- Common Mistakes And How To Avoid Them
- Installation And Display Tips For Birthday Banners
- Post-Use Care And Storage Suggestions
- Create Your Perfect Personalised Birthday Banner Today
- Frequently Asked Questions
Key Takeaways
| Point | Details |
|---|---|
| Order timing | Ordering banners at least 7 days before the party improves on-time delivery to 90%. |
| Budget range | Personalised banners typically cost £15-£50 in the UK, balancing quality and affordability. |
| Photo quality | High-resolution photos (300 dpi minimum) and proofed text ensure sharp, error-free prints. |
| Design selection | Selecting a thematic design that matches your child’s party theme maximises visual impact. |
| Storage care | Proper installation and storage extend banner lifespan and keepsake value. |
Prerequisites and Budget Planning
Successful banner personalisation starts with proper preparation. Understanding what you need before placing your order saves time, money, and potential disappointment.
Budget is your first consideration. Personalised children’s birthday banner costs in the UK range between £15 and £50 depending on size, material, and customisation options. Standard vinyl banners typically sit at the lower end, while larger fabric options with complex photo layouts cost more. Set aside £25-£35 for a quality mid-range banner that balances professional appearance with reasonable cost.
Photo requirements are non-negotiable for sharp results. You need high-resolution digital images, minimum 300 dpi and at least 1000x1000 pixels. Blurry smartphone photos taken in poor lighting won’t work. Review your photo library now and identify clear, well-lit images of your child that show their face prominently.
Timeline planning prevents last-minute panic. Allow at least 7 days between ordering and your party date. This buffer accommodates production time, postal delays, and any unexpected issues. Ordering earlier gives you breathing room to request reprints if needed without jeopardising your celebration.
Theme selection guides your design choices. Before browsing templates, clarify your party’s colour scheme, character theme, or style direction. A unicorn party needs different banner aesthetics than a football celebration. Write down three to five keywords describing your party vision to keep design selection focused.
Key preparation checklist:
- Confirm your budget range and preferred material type
- Gather high-resolution photos meeting minimum quality standards
- Calculate your order date to allow 7+ days delivery buffer
- Define party theme, colours, and style preferences clearly
- Measure your display space to select appropriate banner dimensions
Step-by-Step Personalisation Process
The online personalisation workflow is simpler than you might think. Breaking it into four clear steps eliminates confusion and ensures quality results.
Step one involves selecting your template. Browse customisable birthday banner options that align with your theme notes. Look for layouts that complement your photo style. Portrait photos work better with certain templates than landscape images. Filter by age group to find designs matching your child’s developmental stage.
Step two requires adding text carefully. Enter your child’s name and milestone age exactly as you want them printed. This is where spelling errors occur most frequently, so triple-check every letter. Capitalisation matters for visual impact. Consider whether “Happy 5th Birthday EMMA” or “Happy 5th Birthday Emma” better suits your style.
Step three involves uploading photos. Select images meeting the 300 dpi minimum to avoid pixelation. Most platforms show a quality indicator when you upload. If you see warnings about low resolution, choose a different photo immediately. Crop images before uploading to remove distracting backgrounds and centre your child’s face.
Step four is previewing your design. This critical verification step catches mistakes before production begins. Zoom in on text to check spelling. View the banner at actual size if your screen allows. Examine photo placement to ensure faces aren’t cut off awkwardly. Save your design and review it on a tablet or different device to catch layout issues your eyes might miss on one screen.
Place your order only after thorough preview verification. Confirm your delivery address is current and accurate. Select standard delivery if you’ve allowed proper timeline buffer, avoiding unnecessary express shipping costs.
Pro Tip: Take a screenshot of your final design preview and share it with a friend or family member for a fresh perspective before ordering.
Many platforms, including professional banner personalisation services, offer design-saving features. Use these to work on your banner across multiple sessions without losing progress.
Choosing Design Themes and Photos
Design decisions directly impact how your banner photographs and fits your party atmosphere. Smart choices here transform a decent banner into a stunning centrepiece.
Children’s birthday banner design collections cater to different age groups with appropriate visual styles. First birthday banners feature softer pastels and milestone-focused layouts. Designs for 5-10 year olds incorporate bolder colours and character-friendly formats. Teen banners shift toward more sophisticated typography and modern aesthetics.
Bold typography attracts attention across crowded party spaces. Your child’s name should be the largest element, readable from 15-20 feet away. Age numbers work best when they’re nearly as prominent as the name. Avoid ornate script fonts that sacrifice legibility for decoration. Sans-serif or chunky display fonts photograph better and suit most celebration styles.
Photo layouts require thoughtful composition. Single-photo designs emphasise one perfect image and work brilliantly for showcasing professional portraits. Multi-photo collage layouts tell a story across several moments but risk visual clutter if overcrowded. Limit collages to three to five images maximum. Each photo needs breathing room around it.
Font size directly affects viewing distance effectiveness. Text height should measure 2-3 inches for names to be clearly readable across a room. Smaller supporting text like “Happy Birthday” can be slightly reduced but never below 1.5 inches. Test readability by viewing your preview from across the room on your computer screen.
Colour coordination ties everything together:
- Match banner colours to tablecloths, balloons, and other party décor
- Use complementary colours rather than clashing hues that fight for attention
- Consider venue lighting when selecting colour intensity
- Ensure sufficient contrast between text and background for readability
- Test how your chosen colours photograph under typical party lighting
Materials and Printing Quality
Understanding material options helps you select the right banner for your specific party setting and budget. Each material offers distinct advantages.
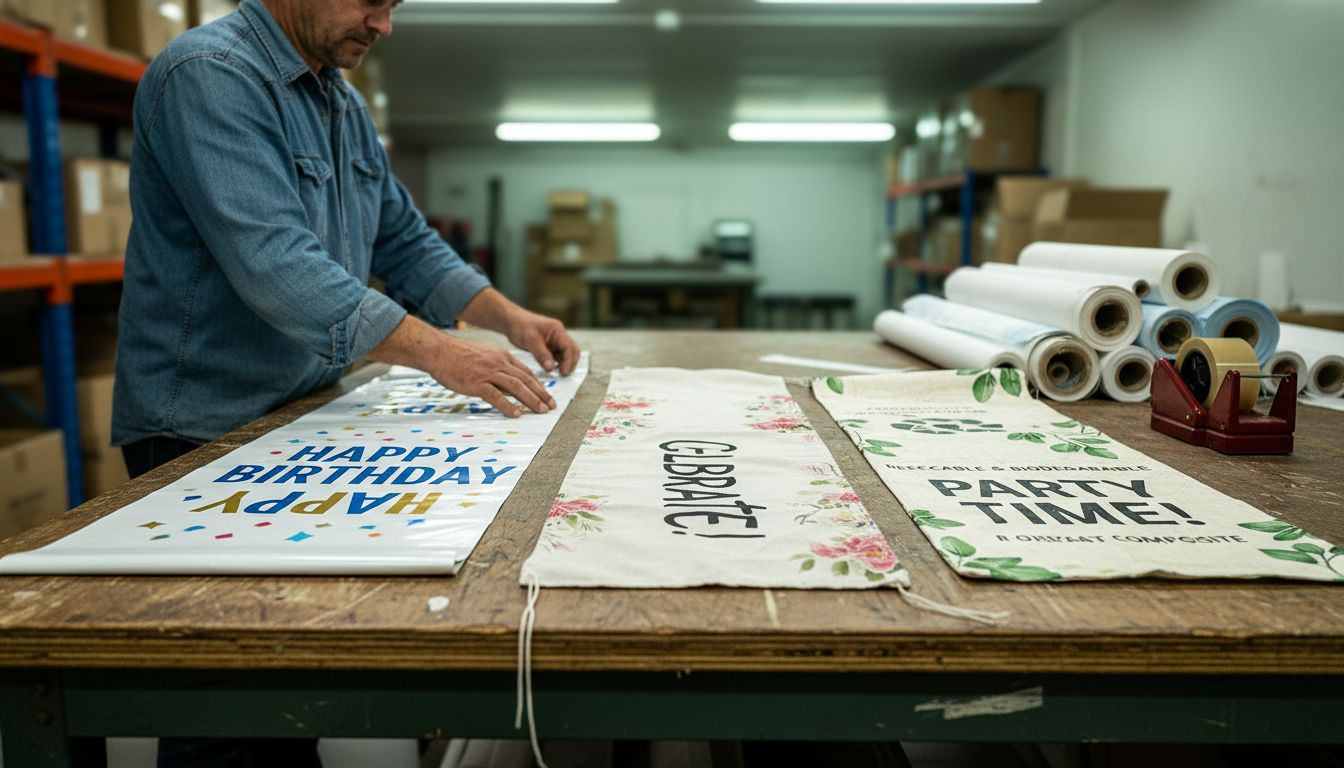
Vinyl banners dominate UK party supplies for good reason. Vinyl provides waterproof protection essential for unpredictable British weather. If your celebration includes outdoor elements, vinyl withstands light rain without damage. The material’s durability supports 1-2 weeks of continuous display without sagging or fading. Vinyl also costs less than fabric alternatives, making it budget-friendly.
Fabric banners suit indoor celebrations where elegance matters. The textile appearance photographs beautifully, offering a softer, more refined aesthetic than vinyl’s glossy finish. Fabric drapes naturally and reduces glare in flash photography. However, fabric absorbs moisture and shouldn’t be used outdoors in damp conditions.
High-resolution photo printing separates professional banners from disappointing results. Quality printers produce vibrant, accurate colours that make photos pop. Skin tones appear natural rather than orange or washed out. Sharp printing preserves fine details like eyelashes and hair texture that low-quality printing blurs.
Environmentally conscious materials are emerging as eco-friendly alternatives. Some suppliers now offer recyclable vinyl or biodegradable fabric options. These cost slightly more but appeal to sustainability-minded parents wanting to reduce party waste.
| Material | Best Use | Durability | Cost Range | Weather Resistance |
|---|---|---|---|---|
| Vinyl | Outdoor/Indoor | 1-2 weeks | £15-£35 | Waterproof |
| Fabric | Indoor Only | 1-2 weeks | £25-£50 | Not weather-resistant |
| Eco Vinyl | Outdoor/Indoor | 1-2 weeks | £20-£40 | Water-resistant |
Pro Tip: Choose vinyl material for outdoor parties to ensure weather resistance, even if forecasts look clear, because UK weather changes unpredictably.
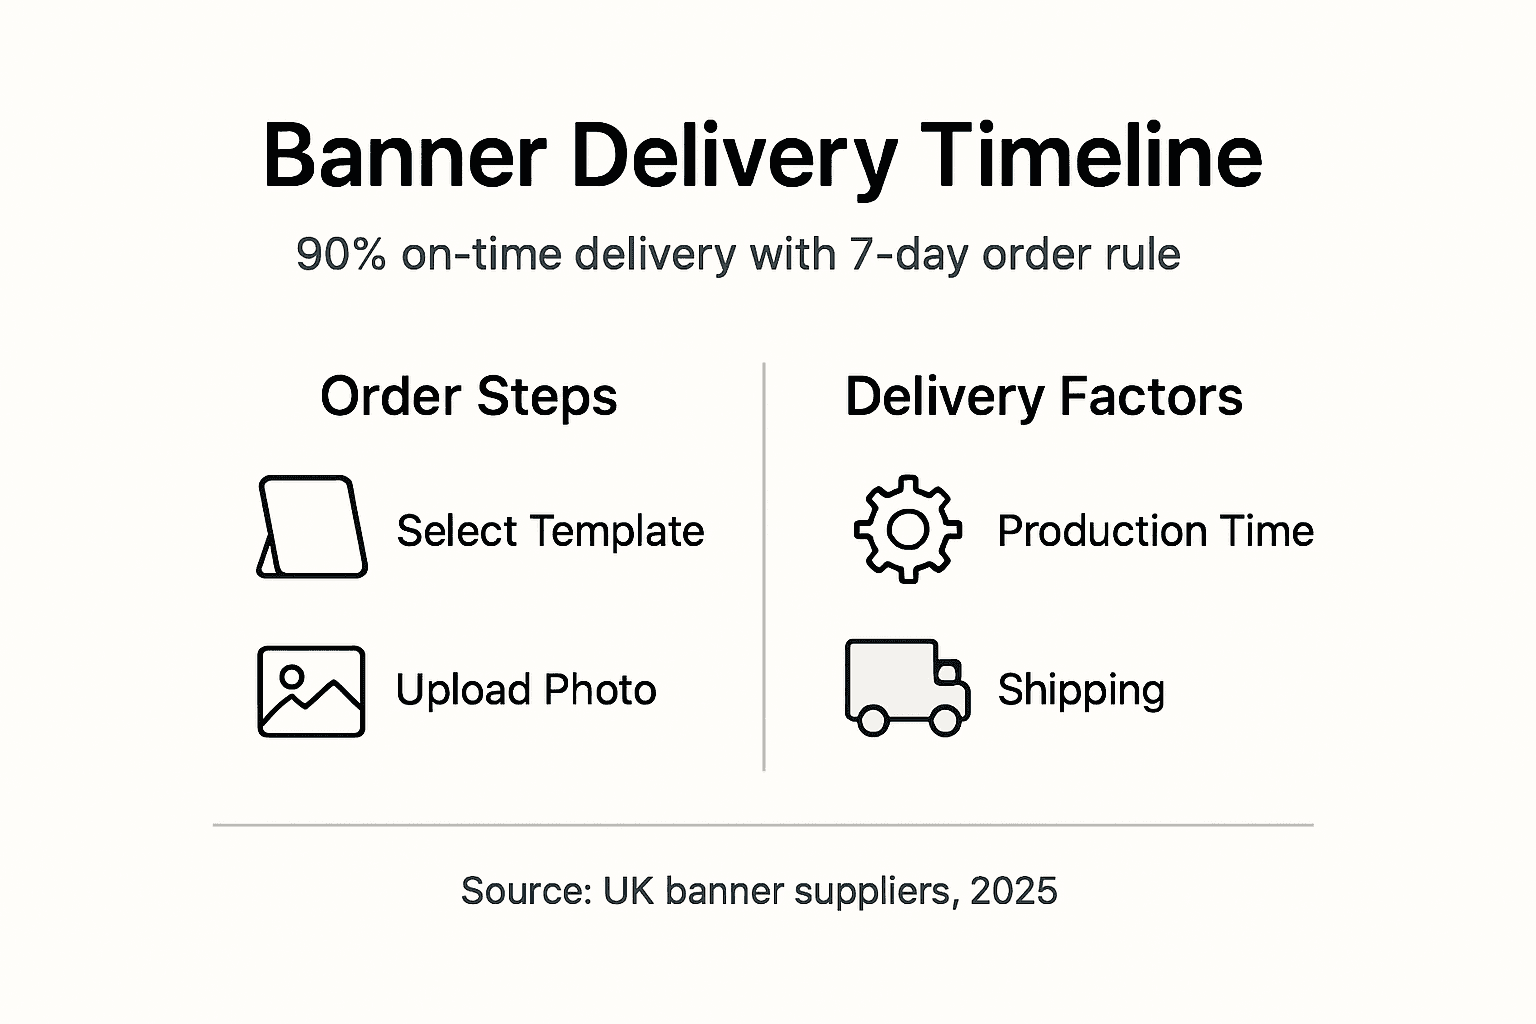
Timeline Expectations for Order and Delivery
Realistic timeline understanding prevents disappointment and ensures your banner arrives when you need it. UK delivery logistics follow predictable patterns you can plan around.
Typical production takes 2-3 business days after you submit your order. During this window, your design is printed, quality-checked, and prepared for dispatch. Add 1-2 business days for Royal Mail or courier delivery across most UK addresses. Remote Scottish Highlands or island locations may require an additional day.
The seven-day rule delivers consistent results. Parents ordering at least one week before their party achieve 90% satisfaction rates with on-time banner arrival. This buffer accounts for production time, postal service variations, and potential delays. Weekend and bank holiday interruptions extend timelines, so order even earlier around holidays.
Late photo submissions derail the entire process. If you delay uploading photos or approving proofs, production can’t begin. Suppliers typically hold orders 48 hours awaiting photo uploads before cancelling. Prepare photos before starting your order to avoid this trap.
Express production options exist but dramatically increase costs. Rush fees of £10-£20 apply for next-day production, plus expedited shipping charges. These options work for genuine emergencies but waste money if you plan ahead properly.
Delivery timing considerations:
- Order 10-14 days ahead for December parties during postal service peak periods
- Add extra days for personalised elements requiring manual approval
- Account for weekend gaps when calculating business day delivery windows
- Track your order through provided tracking numbers to monitor progress
- Contact suppliers immediately if tracking shows unexpected delays
Understanding the UK banner order and delivery timeline helps you set realistic expectations and plan accordingly.
Common Mistakes and How to Avoid Them
Learning from others’ errors saves you from repeating them. These five mistakes account for most banner personalisation problems.
Low-resolution photos create pixelated, blurry prints that ruin otherwise perfect designs. Your phone’s highest-quality setting often isn’t enough. Use your camera’s maximum resolution mode and ensure good lighting. If upload warnings appear about image quality, stop and select a different photo. Never proceed hoping it will “look fine” because it won’t.
Spelling errors in names and ages spoil banners permanently. “Sophie” becomes “Sofie,” or “8th” appears as “8st.” Read every letter individually rather than scanning words your brain autocorrects. Ask another adult to verify spelling before finalising your order. Once printed, misspellings can’t be fixed without ordering a complete replacement.
Skipping preview verification invites disaster. The preview shows exactly what you’ll receive. Zoom functionality exists for a reason. Check that photos aren’t awkwardly cropped, text doesn’t overlap images, and colours match your expectations. Save the preview and review it later with fresh eyes.
Late ordering causes unnecessary stress and often results in disappointment. Ordering three days before your party leaves no room for postal delays, production issues, or reprint needs. You’ll either pay premium rush fees or risk your banner arriving after the celebration. Plan ahead or accept decorating without it.
Ignoring size specifications creates display problems:
- Banners too large overwhelm small venues and dwarf surrounding décor
- Undersized banners disappear in large halls and photograph poorly
- Measure your intended display space before selecting dimensions
- Standard 4ft x 2ft banners suit most home party settings
- Venue parties may need 6ft x 3ft or larger for proper visual impact
Installation and Display Tips for Birthday Banners
Proper installation maximises your banner’s visual impact and ensures it stays secure throughout your celebration. These practical tips work for various venue types.
Optimal hanging height sits at 5-6 feet from the floor. This positioning places your banner at adult eye level for photographs while remaining visible to children. Hanging too high pushes it into background obscurity in photos. Too low risks damage from curious toddlers or food spills.
Background selection dramatically affects banner visibility. Plain walls in neutral colours make banners pop. Busy wallpaper, cluttered shelving, or competing decorations diminish impact. Clear a dedicated space specifically for banner display, removing competing visual elements.
Secure attachment methods vary by venue:
- Removable adhesive hooks work on painted walls without damage
- Fishing line or clear string creates invisible hanging from ceiling fixtures
- Freestanding banner stands offer portable solutions for venues where wall mounting isn’t allowed
- Painter’s tape along top edge provides temporary hold on delicate surfaces
- Outdoor displays need zip ties securing banners to fence posts or railings
Outdoor venue considerations require extra attention. Even vinyl’s waterproof properties can’t prevent wind damage. Secure all four corners rather than just the top. Weather-resistant attachment methods prevent embarrassing mid-party collapses. Position banners away from direct wind channels.
Horizontal orientation suits party photography better than vertical hanging. Horizontal banners fill photo frames naturally and capture the entire design in single shots. This orientation also matches typical cake table backdrops and gift table displays.
Detailed guidance on banner installation and display strategies helps you achieve professional results without hiring decorators.
Post-Use Care and Storage Suggestions
Proper care transforms your party banner into a long-lasting keepsake. These simple preservation methods maintain condition for years.
Roll banners rather than folding them. Rolling prevents permanent creases that damage printed images and create unsightly lines. Start rolling from one short edge, keeping tension even throughout. Secure rolled banners with rubber bands or ribbon, avoiding tight wraps that create pressure marks.
Storage location matters significantly. Cool, dry spaces away from direct sunlight preserve colours and prevent material degradation. Attics get too hot in summer, basements too damp in winter. Bedroom closets or under-bed storage boxes work perfectly. Avoid garages where temperature fluctuations and moisture accelerate fading.
Properly stored banners last 5+ years as sentimental keepsakes. Parents often display milestone banners during future birthdays or create memory walls showcasing multiple years. This longevity transforms the £25-£35 investment into lasting value beyond a single party.
Cleaning before storage removes dirt and food stains that set permanently. Gently wipe vinyl banners with a damp cloth and mild soap. Fabric banners may require spot cleaning with appropriate textile cleaners. Allow banners to dry completely before rolling to prevent mould growth.
Storage best practices:
- Use cardboard tubes or PVC pipes as rolling cores to maintain shape
- Label storage containers with event date and child’s name
- Store multiple banners separately to prevent colour transfer
- Keep banners away from sharp objects that puncture material
- Review stored banners annually and discard any showing significant deterioration
Pro Tip: Label storage tubes with event date and child’s name for easy retrieval when you want to reminisce or reuse banners for future celebrations.
Create Your Perfect Personalised Birthday Banner Today
Now that you understand the complete personalisation process, it’s time to create your child’s perfect birthday banner. My Party Banner offers extensive collections of customisable birthday banners designed specifically for UK families.
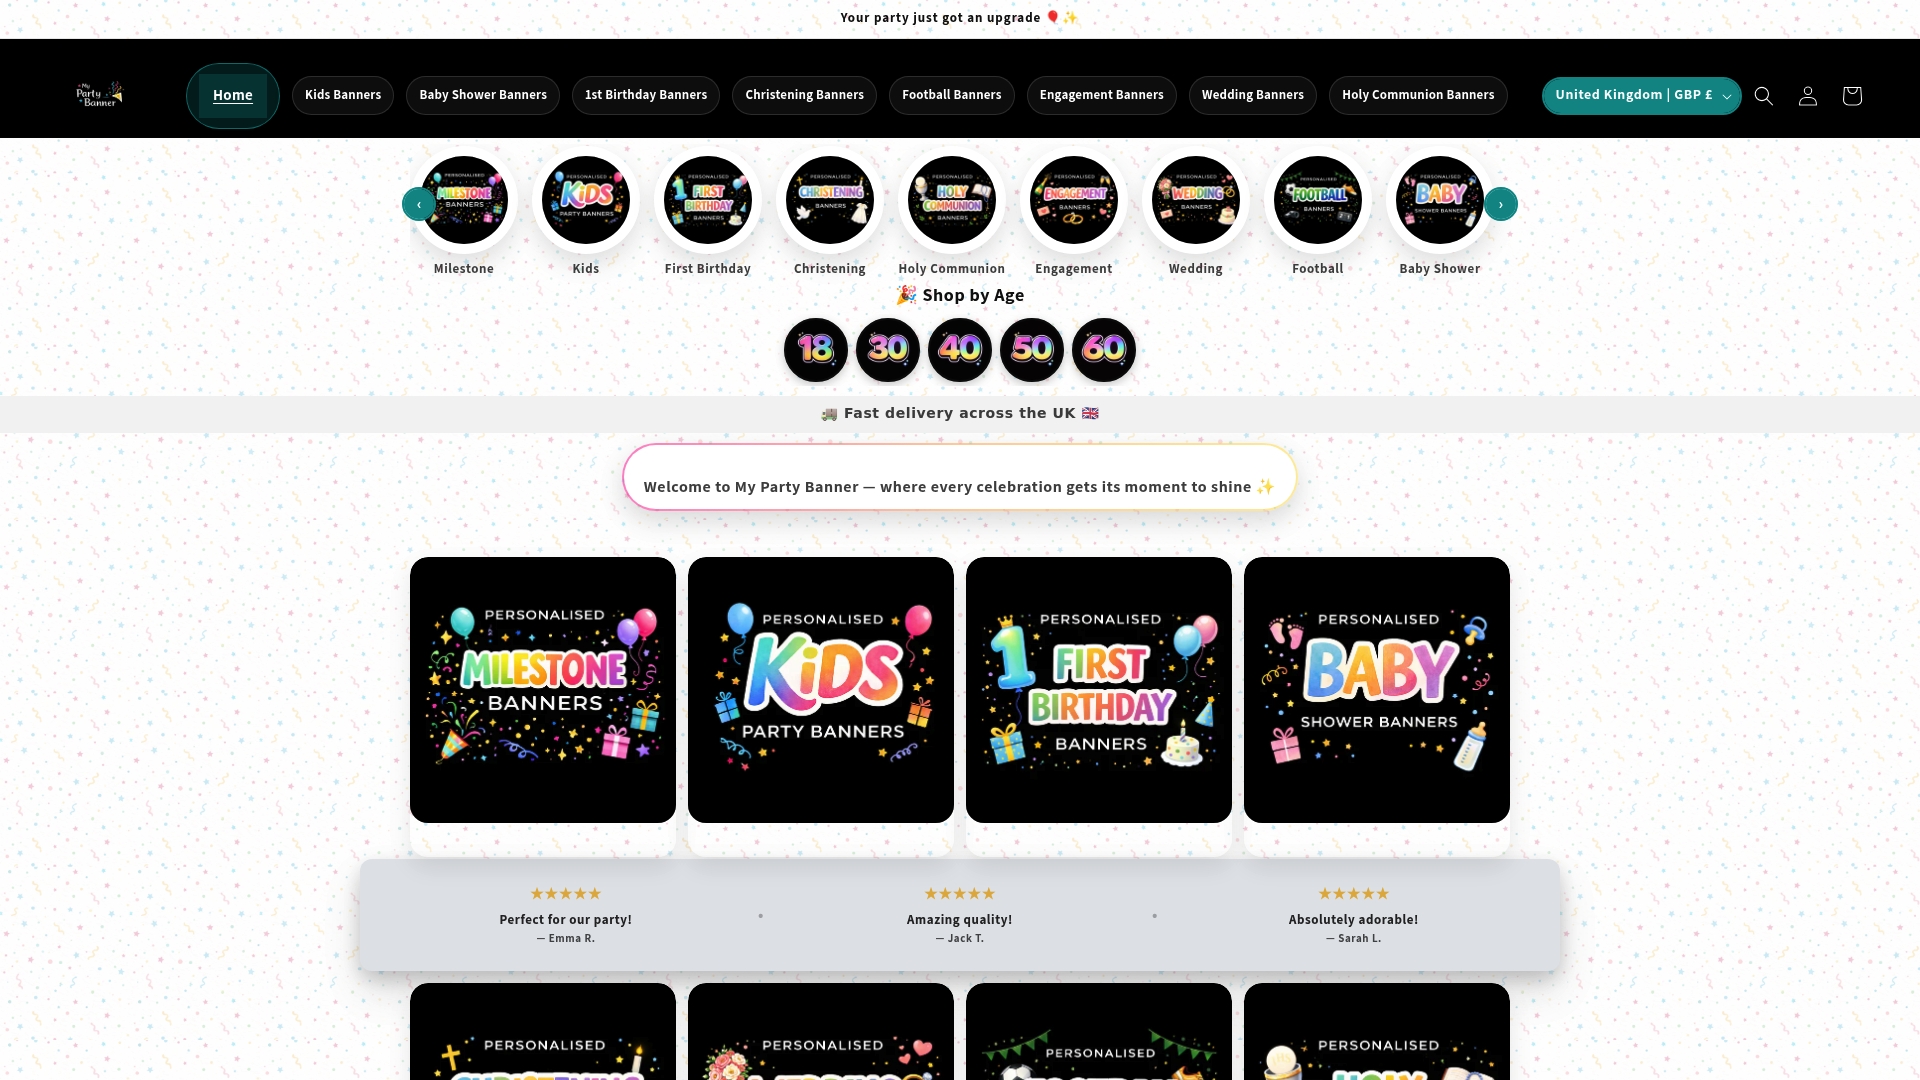
Our platform simplifies online personalisation with intuitive photo and text upload features. You’ll benefit from fast UK delivery and professional print quality ensuring your banner arrives on time and looks stunning. Whether you’re planning indoor birthday celebrations or outdoor garden parties, we provide materials and designs suited to your specific needs. Apply the expert personalisation guidance you’ve learned here to create a memorable party centrepiece that becomes a cherished keepsake. Start designing your personalised banner today and transform your child’s celebration into an unforgettable visual experience.
Frequently Asked Questions
How far in advance should I order my child’s birthday banner?
Order at least 7-10 days before your party to ensure on-time delivery. This timeline accommodates production, quality checking, and postal service delivery across the UK.
What photo resolution do I need for a clear printed banner?
Your photos must be minimum 300 dpi and at least 1000x1000 pixels. Lower resolution images will appear pixelated and blurry when printed at banner size.
Can I use my personalised banner outdoors in UK weather?
Vinyl banners withstand light rain and typical UK weather conditions. Secure them properly against wind and avoid extended exposure to heavy downpours.
How long will my personalised birthday banner last?
With proper rolling and storage in cool, dry conditions away from sunlight, banners last 5+ years as keepsakes. Vinyl typically outlasts fabric in long-term storage.
What size banner works best for home birthday parties?
Standard 4ft x 2ft banners suit most home settings perfectly. Measure your display space beforehand to ensure the banner fits your available wall or backdrop area comfortably.
Recommended
- UK Banner Decoration: 95.4% On-Time Delivery Guide – My Party Banners
- Event Banner Personalization: 65% Request Photo & Text Options – My Party Banners
- Personalised Banners: 67% More Emotional Impact in 2026 – My Party Banners
- Personalised Birthday Banner - Birth Day Theme – My Party Banners
- Birthday Sale – Dracoslides